Identify and address vulnerabilities from Cursor
Fluid Attacks' Cursor extension offers the following functions:
-
Go to DB (links to Fluid Attacks' documentation on vulnerabilities)
To access the above functions, either click on the Fluid Attacks extension in Cursor's activity bar or click on repository files marked with a red dot in Cursor's explorer. This page guides you through using these functions except for the last two, for which there are dedicated, more detailed pages.

See vulnerable file and code line
You can view vulnerabilities reported in the Fluid Attacks platform from the AI-powered IDE.
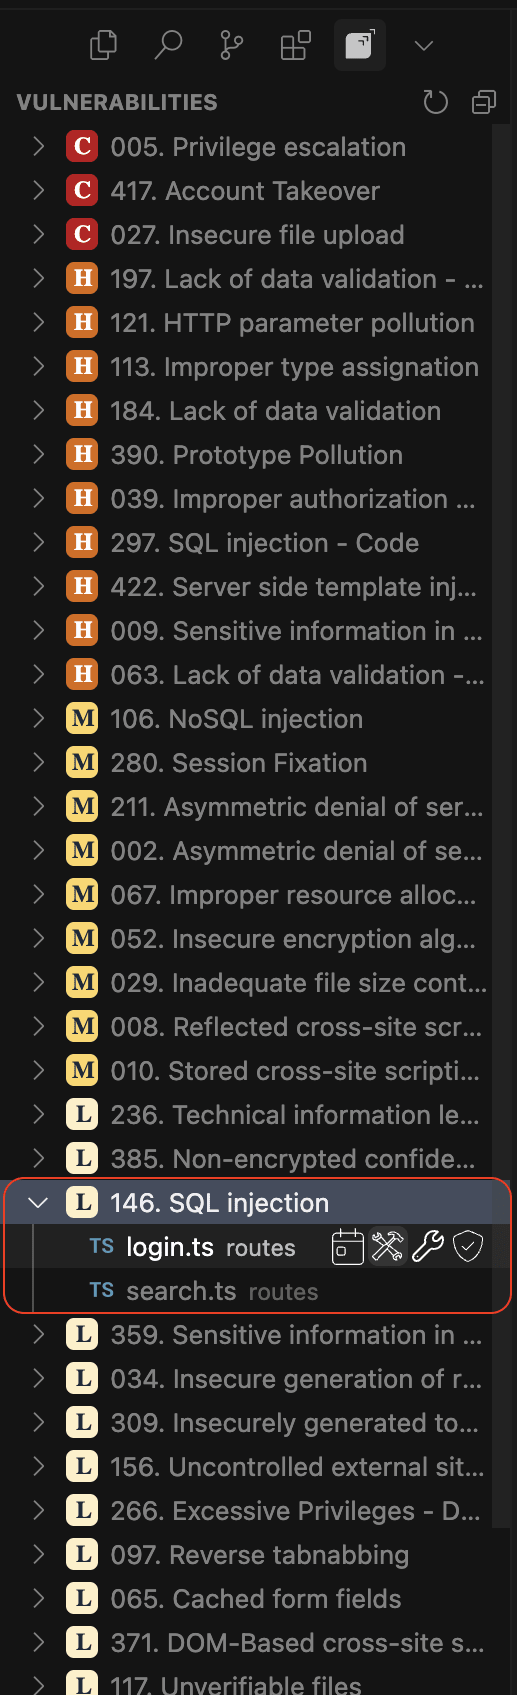
Click on the Fluid Attacks icon in Cursor's activity bar. You are then presented with a comprehensive list of vulnerability types detected in your code.

Click on the vulnerability type of your interest to view all affected files.
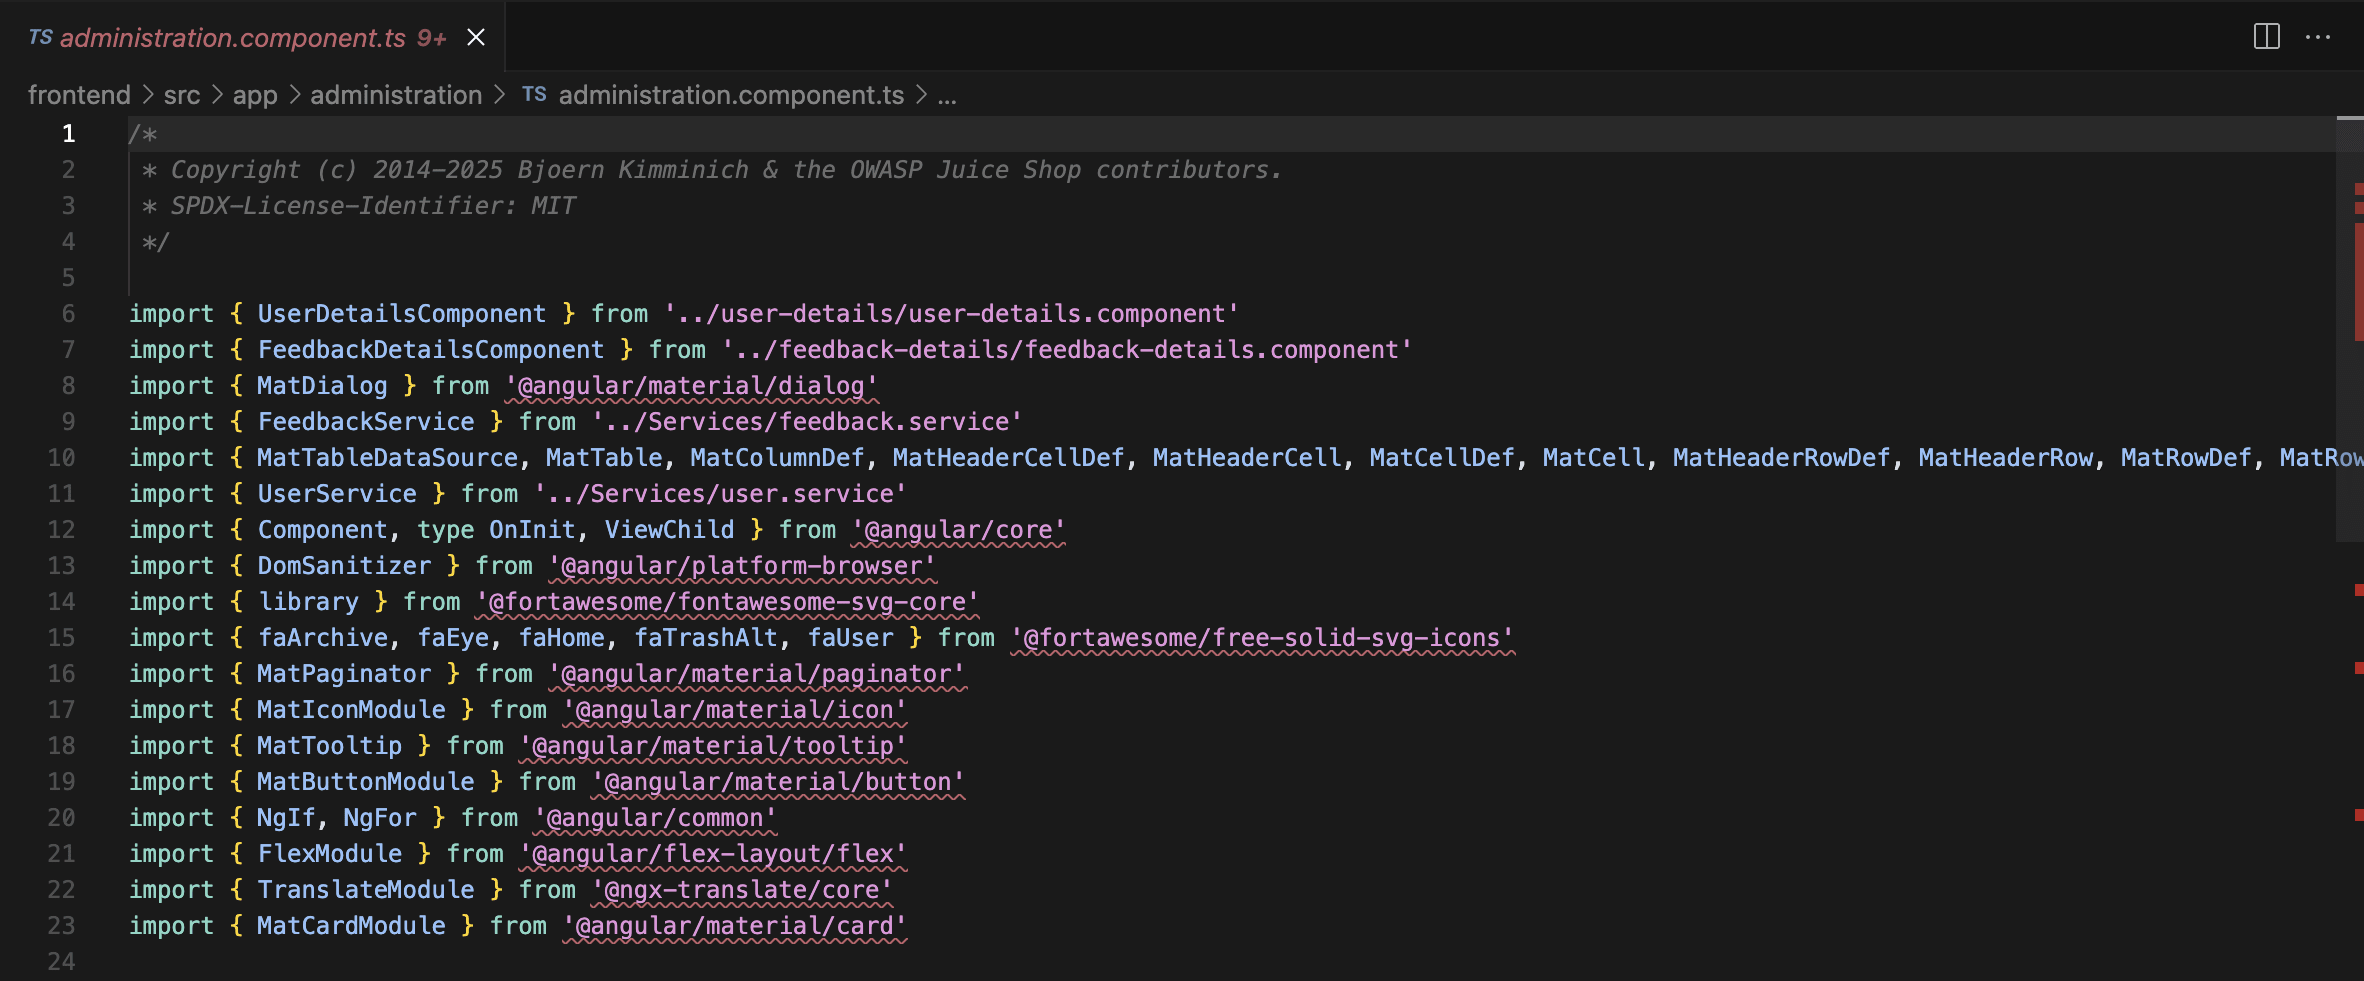
Select a file of your interest to identify the line of code where the vulnerability is present, which is underlined with red.
If starting from Cursor's explorer, follow these steps:
-
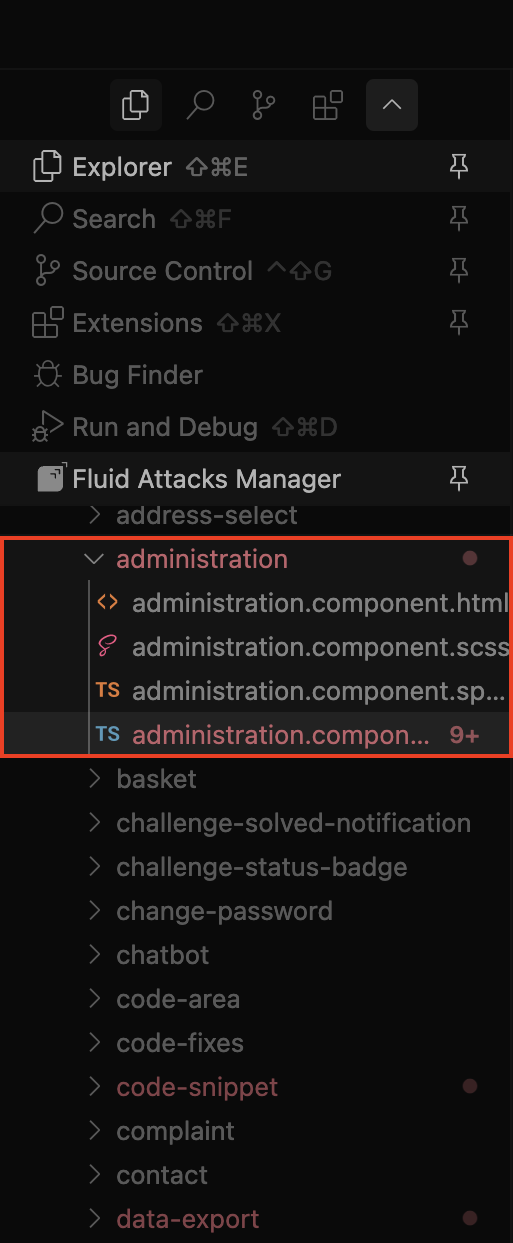
Open the project corresponding to the Git repository that is tested by Fluid Attacks. Files with vulnerabilities are marked with red dots.
Click on the files to open them.
-
Identify the vulnerable lines of code, which have a red underline.
Assign Temporarily accepted treatment
Fluid Attacks allows you to accept vulnerabilities up to a defined date.
-
Click on the Fluid Attacks icon in Cursor's activity bar.
-
Expand the type of vulnerability you wish to explore by clicking on its name.
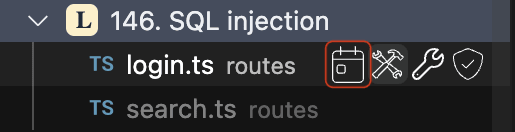
Click on a vulnerable file to see some icons appear. Click on the calendar icon to apply the 'Temporarily accepted' treatment to that vulnerability.
-
Write a justification for the acceptance, enter the date when it finalizes, and select your team member who is assigned this vulnerability. To confirm that the treatment was applied, wait until you receive a notification.
-
You may optionally refresh the view (Ctrl/Cmd + R) and observe whether the vulnerability's underline changes from red to yellow, indicating that the temporary treatment has been applied.
If starting from Cursor's explorer, follow these steps:
-
Click on the file to open it.
Right-click on the underlined code and locate the Accept Vulnerability Temporarily option.
-
Write the justification for the acceptance, enter the date when it finalizes, and select the member of your team who is assigned this vulnerability. To confirm that the treatment was applied, wait until you receive a notification.
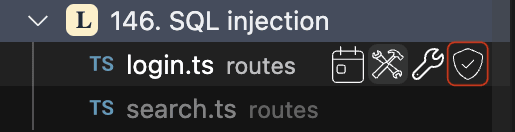
Request reattacks
Reattacks are the retests where Fluid Attacks verifies the effectiveness of the fixes you apply to your code.
-
Click on the Fluid Attacks extension in Cursor's activity bar.
-
Expand the type of vulnerability you wish to explore by clicking on its name.
-
Click on a vulnerable file to see some icons appear.
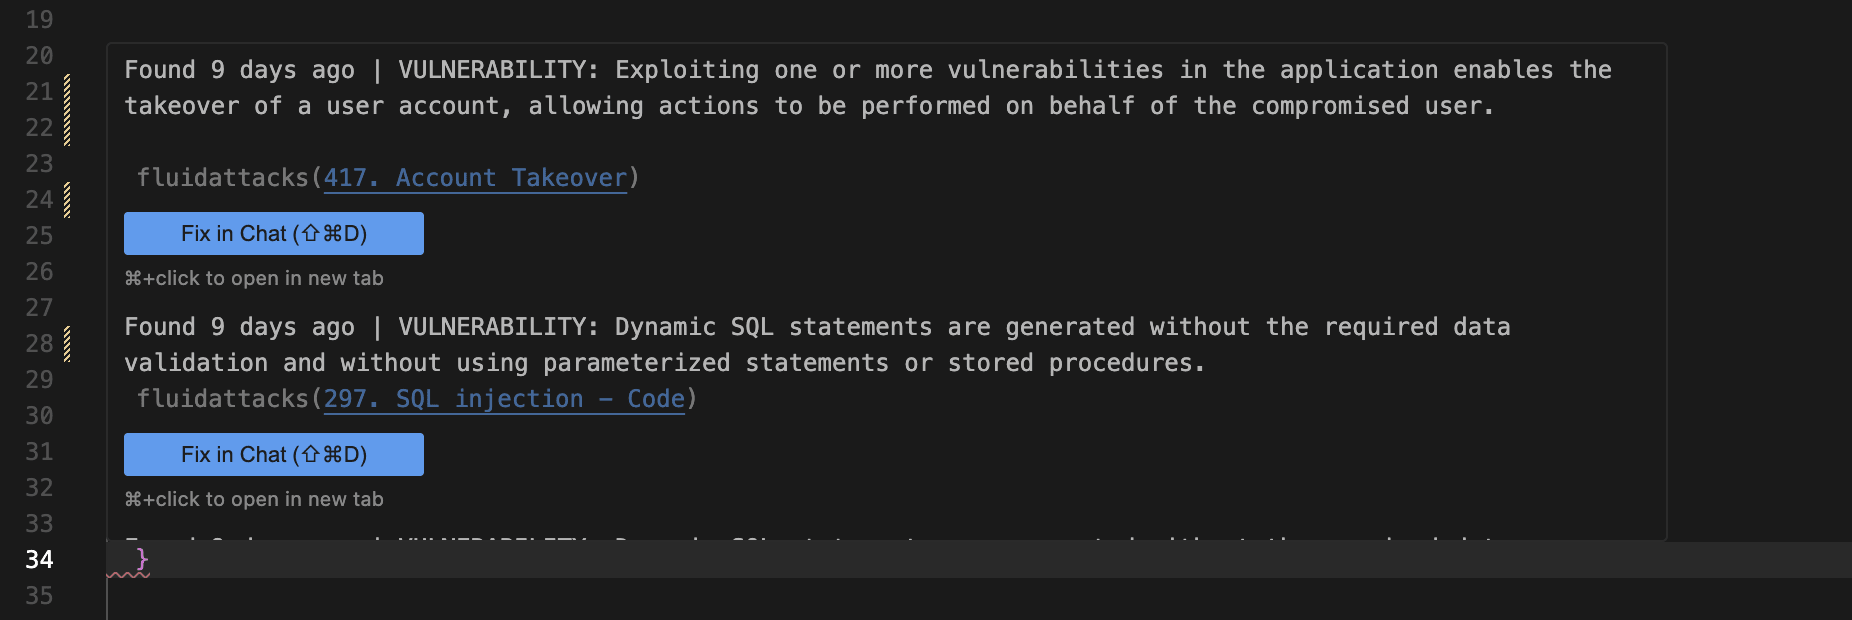
Click on the shield icon to request a reattack.
-
Type in a description of the fix you applied and press Enter/Return. A notification is shown shortly confirming the successful delivery of the request.
-
You can refresh the view (Ctrl/Cmd + R) and observe whether the vulnerability's underline changes from red to blue, indicating that the reattack was successfully requested.
If starting from Cursor's explorer, follow these steps:
-
Click on the file to open it.
-
Right-click on the underlined code and locate the Request reattack option.
-
Type in a description of the fix you applied and press Enter/Return. A notification is shown shortly confirming the successful delivery of the request.
 Note: Remember to push your code to the tests/security/integration branch.
Go to DB and vulnerability on the platform
The Fluid Attacks Cursor extension offers you external links to Fluid Attacks' database (DB) and, separately, to the report of the vulnerability on the platform. Fluid Attacks' DB is documentation that mainly presents the standards, requirements and vulnerability types that determine the results of security testing.
-
Click on the extension in Cursor's activity bar.
-
Right-click on the type of vulnerability of your interest
-
Select between the options Go to DB and Go to Finding.
If starting from Cursor's explorer, follow these steps to access the link to the DB:
-
Click on the file to open it.
Right-click on the vulnerable line and select Go to DB.
To access the link to the vulnerability on the platform, starting from Cursor's explorer, do the following:
-
Click on the file to open it.
Locate the vulnerable line and hover your mouse cursor over it. A pop-up window appears, showing the definition and the external link.
-
Click on the link to the vulnerability on the platform.
View vulnerability description
Fluid Attacks offers comprehensive documentation on its own classification of vulnerabilities.
-
Click on the Fluid Attacks extension in Cursor's activity bar.
-
Right-click on the type of vulnerability of your interest.
-
Select See Finding description. The current editor view splits to show you the corresponding information from Fluid Attacks' documentation without leaving Cursor. This includes the information on attack vector, threat, severity score and average remediation time.
If starting from Cursor's explorer, follow these steps to view the vulnerability description:
-
Click on the file to open it.
-
Right-click on the vulnerable line and select See Finding description. The vulnerability description and other details are displayed at the right side of the editor.
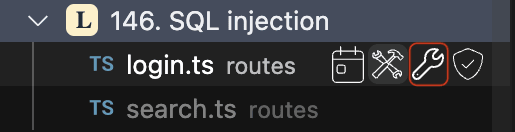
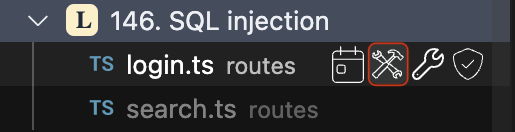
Use the fix options

-
Custom fix: Generates a step-by-step guide telling you how to fix your code. Access it by clicking on a file and then on the wrench icon.
-
Autofix: Automatically generates a suggested pull request fixing the code (special caution is advised when using this function, as it intends to make changes directly to your codebase). Access it by clicking on a file and then on the hammer and wrench icon.
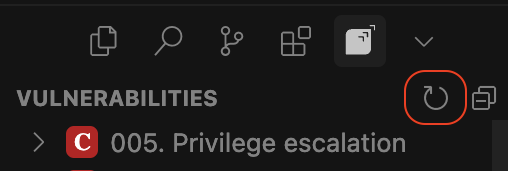
Refresh button
Click the refresh button to ensure that actions such as reattack requests and treatment assignment are reflected in the extension.
Upon refreshing, vulnerability underlines update to reflect their status:
-
Blue: Reattack requested
-
Yellow: 'Temporarily accepted' treatment applied