Get notified with webhooks


Understand the Add hooks table
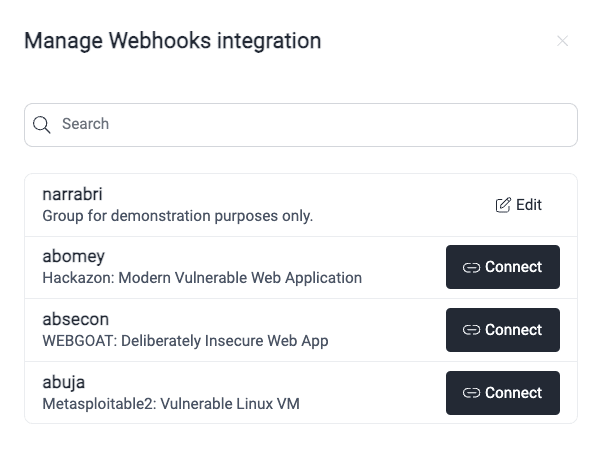
The table in the Add hooks pop-up window displays the endpoints you have configured to receive notifications for events you are interested in. Each column is explained below.

- Name: Name to refer to the webhook
- URL: The designated endpoint to which notifications are transmitted upon the occurrence of a specified event action
- Token header: The header containing your token for the URL
- Events: The list of events of which notifications are sent when they occur in the group
Events available for webhooks
Events refer to the actions of the platform of which you can receive notifications when they occur in your specific group. The following are the events for which you can set up webhooks:
AGENT_TOKEN_EXPIRATION: The DevSecOps agent token is about to expireCONFIRMED_ZERO_RISK: Fluid Attacks confirms that a vulnerability poses zero risk, agreeing with your organization's postureENVIRONMENT_REMOVED: An environment is removed from the Scope sectionEVENT_CLOSED: An event is verified as solved in the groupEVENT_CREATED: An event is created in the groupROOT_CREATED: A new root is added in the Scope sectionROOT_DISABLED: A root is deactivatedVULNERABILITY_ASSIGNED: A vulnerability is assigned to a member of the groupVULNERABILITY_CLOSED: A vulnerability's Status changes from 'Open' to 'Closed'VULNERABILITY_CREATED: A vulnerability is reported to the groupVULNERABILITY_DELETED: A vulnerability is deleted due to the realization of a reporting error, or because it was a duplicate or identified as a false positiveVULNERABILITY_SEVERITY_CHANGED: The severity score is changedVULNERABILITY_VERIFIED: A request is sent to see the status of the reattack
Information sent of each event
When an event is triggered, an HTTP request is sent to the specified URL with the following body structure:
{
  "group": "group_name",
  "event": "event",
  "info": {}
}group: The group in which the event occurredevent: The specific event that triggered the webhookinfo: An object containing additional details about the event (the structure of the info object varies depending on the event type)
info object for different events:|
Event
|
info object |
AGENT_TOKEN_EXPIRATION |
|
CONFIRMED_ZERO_RISK |
|
ENVIRONMENT_REMOVED |
|
EVENT_CLOSED |
|
EVENT_CREATED |
|
ROOT_CREATED |
|
ROOT_DISABLED |
|
VULNERABILITY_ASSIGNED |
|
VULNERABILITY_CLOSED |
|
VULNERABILITY_CREATED |
|
VULNERABILITY_DELETED |
|
VULNERABILITY_SEVERITY_CHANGED |
|
VULNERABILITY_VERIFIED |
|
Manage your webhooks
 Role required: Group Manager
Add a webhook
-
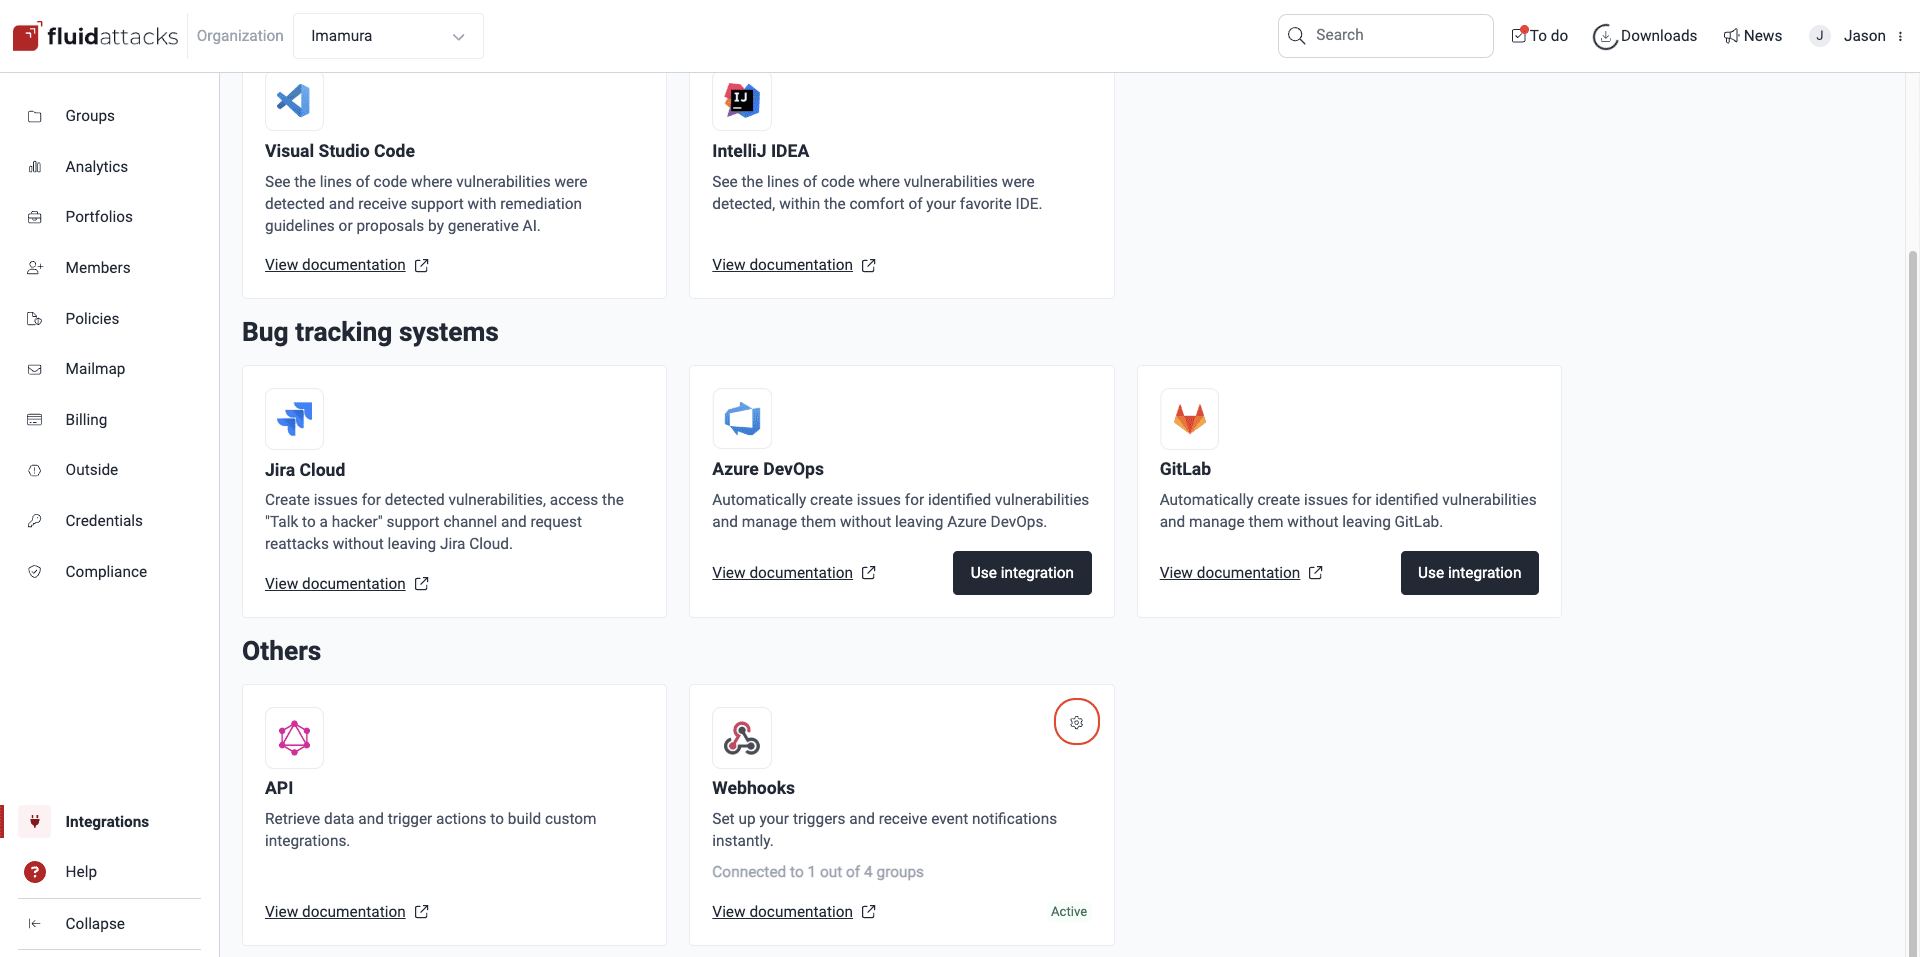
Access your organization's Integrations section, click on the gear in the Webhooks card and then on the option next to the group for which you wish to set up the webhook.
Click on the Add webhook button.

Fill out the Add webhook information pop-up window. The fields are explained below the screenshot.
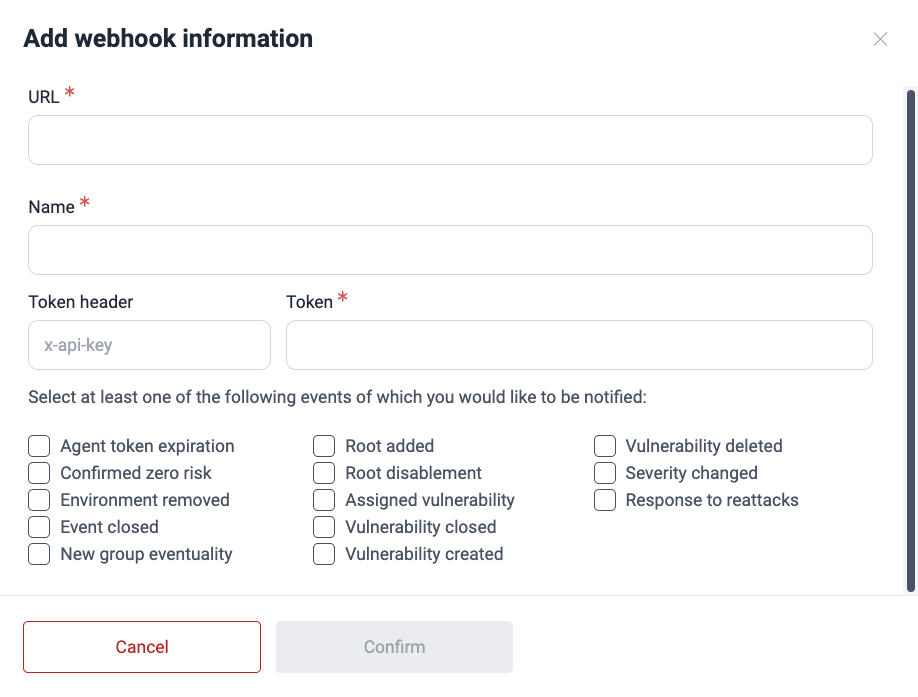
- URL: The URL of the endpoint of the hook where you want to receive event notifications.
- Name: The name or alias of the webhook.
- Token header: The header containing the token for that URL (this field is optional and defaults to the x-api-key value)
- Token: The security token needed to access the URL
- Events: Actions specific to the group for which you wish to receive notifications (select at least one; see the definitions of events available for webhooks above)
Once all the fields are filled out, click on Confirm. It is advisable to validate that the endpoint is accessible by making a request.
Edit a webhook
To modify the information of a specific webhook already created for a group, follow these steps:
-
Access your organization's Integrations section, click on the gear in the Webhooks card and then on the option next to the group for which you wish to modify a webhook.
Select the webhook and then click the Edit button.

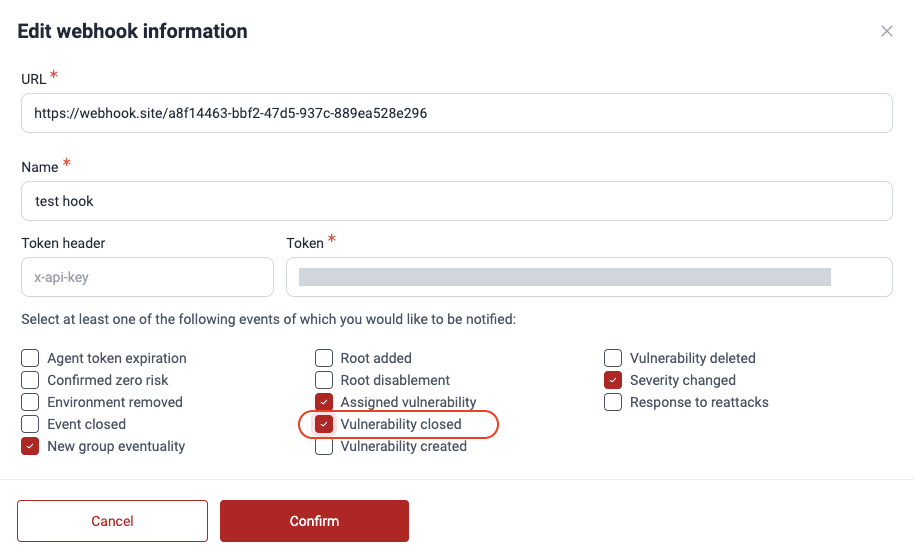
In the new pop-up window, modify the configuration of the webhook as needed. (Read the descriptions of these fields from the instructions to add a webhook.)
-
After making changes, click Confirm to save them. It is advisable to validate that the endpoint is accessible by making a request.
Remove a webhook
To remove a webhook that is no longer of interest to you, follow these steps:
-
Access your organization's Integrations section, click on the gear in the Webhooks card and then on the option next to the group for which you wish to delete a webhook.
Choose the webhook and then click on the Remove button.

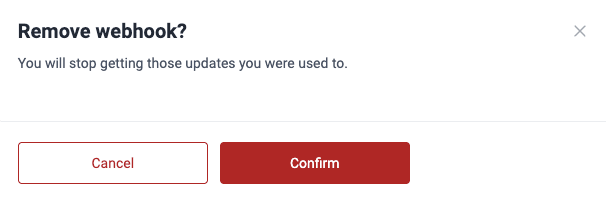
A confirmation window pops up asking you to confirm that you want to delete the webhook. Upon clicking Confirm, the webhook is removed from the table.
Error messages
When you add or edit a webhook on Fluid Attacks' platform, the webhook is subjected to specific validations. You have to keep these validations in mind when performing those actions. If your webhook does not pass one or more checks, you get the corresponding error message(s). The following are the error messages you may get:
- Invalid data: The URL and/or the token are not valid.
- Duplicated: You attempted to add a URL that already exists.
- Unreached Host: The host URL was not found.
- Not Found: The hook has not been found, or you do not have permission to access it.
